
Nock On Release Trainer
- In stock, ready to ship
- Backordered, shipping soon
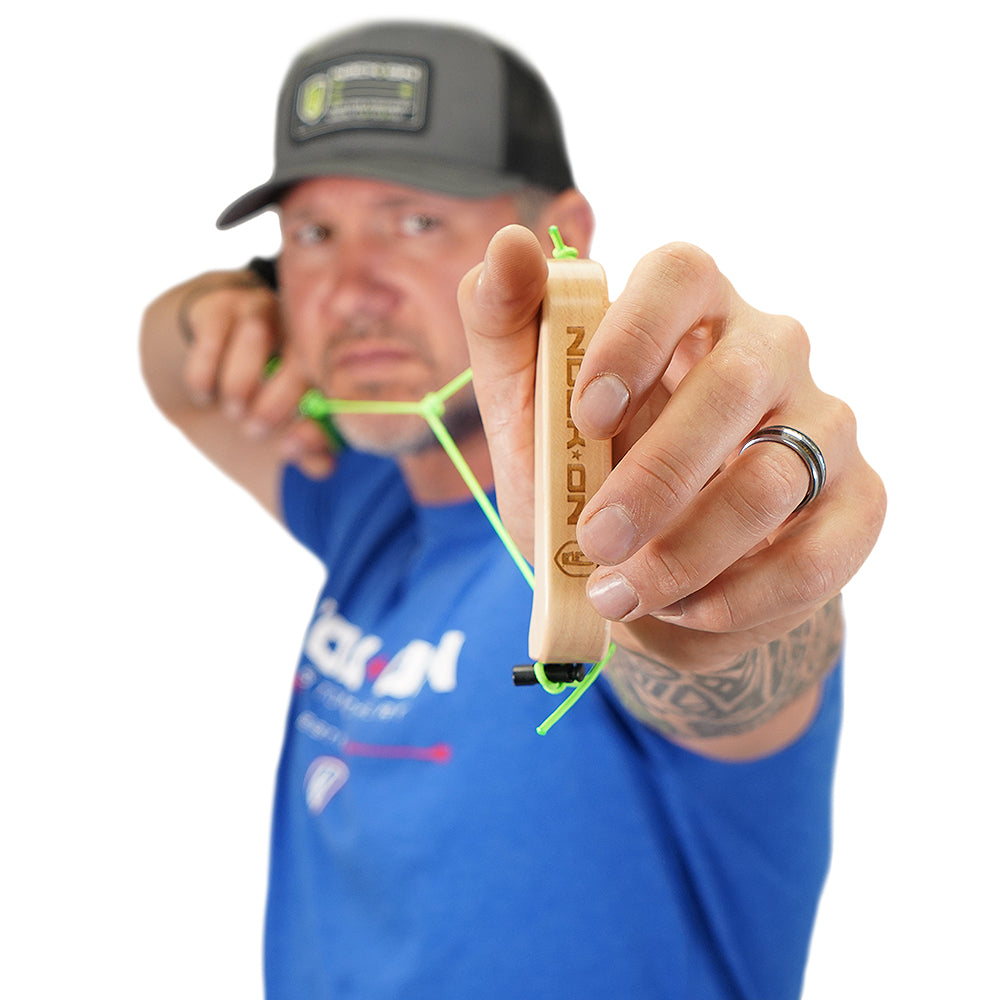
The Nock On Release Trainer lets you practice your shot process without picking up your bow. It simulates your exact draw length with a simple adjustment system that covers 21 to 33 inches, so you can work on anchor position, hand placement, and shot execution anywhere you’ve got a few minutes.
This archery release trainer’s grip is shaped to teach proper bow hand position. If your hand crosses the lifeline or goes too deep, the grip’s profile catches it, pushing you back into the correct cradle position on the thumb pad. The string sits behind the pivot point of the grip, which eliminates torque and lets you focus purely on technique.
John Dudley credits this archery training tool with his best competitive season. He practiced with a shot trainer while making cold calls at work, building the repetition needed to ingrain proper form without the fatigue of pulling a bow all day.
Core Benefits of the Release Trainer
- No-Fatigue Repetition: Practice your shot process over and over without the load of pulling a bow, so you can build technique without burning out your muscles
- Adjustable Draw Length: Covers 21 to 33 inches with a single adjustment tab, matching your exact draw length for accurate full-draw simulation
- Grip Training Built In: The handle profile teaches proper bow hand placement by preventing your hand from crossing the lifeline or going too deep into the grip
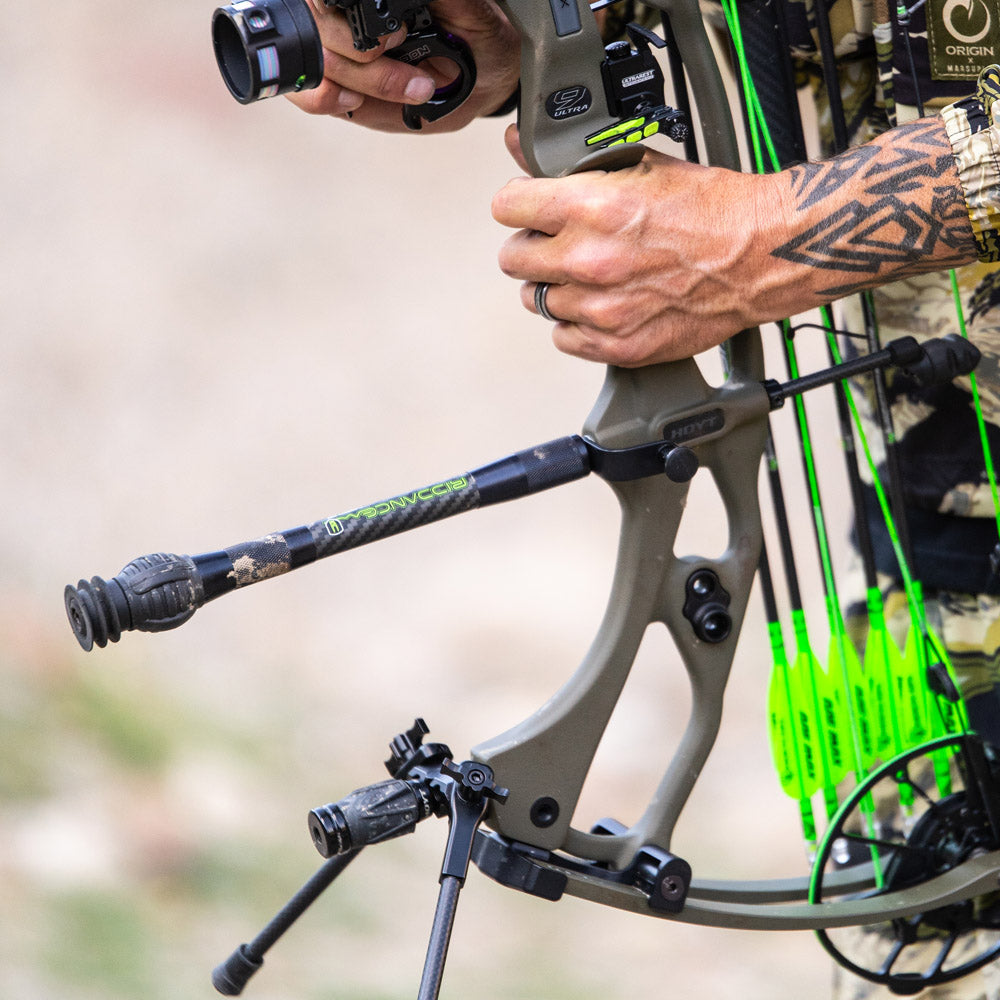
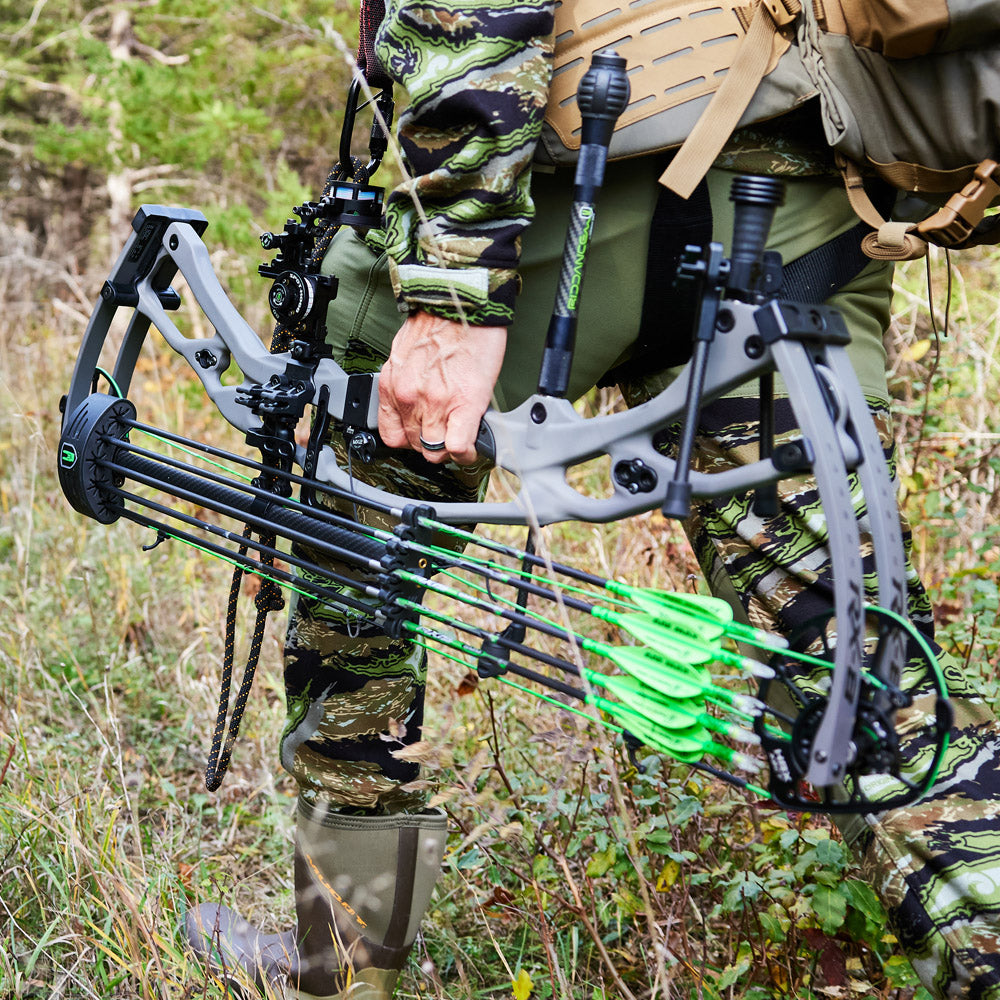
- Works With Any Release: Compatible with thumb releases, tension releases like the Silverback Plus, hinge releases like the 2 Smooth, and wrist releases like the Back Strap
Release Trainer Features
Full-Draw Simulation Without the Load
Every time you pull a bow back, you’re under load. That limits how many reps you can get before fatigue sets in and your form starts breaking down. The release trainer removes that variable.
You can go through your full shot process, from hand placement to anchor to execution, without fighting draw weight. This means more quality reps in less time, and you can keep practicing long after your shoulders would have told you to stop with a bow in hand.
Proper Grip Training
The handle shape corrects hand position. If you try to go too deep into the grip, your hand hits the opposite side, which pushes you back into the proper cradle where the thumb pad meets the wrist.
You can see your lifeline on the inside edge of the grip when your hand is positioned correctly. If your lifeline crosses over the grip, you’ve gone too far. This feedback shows you exactly where to place your hand within the grip.
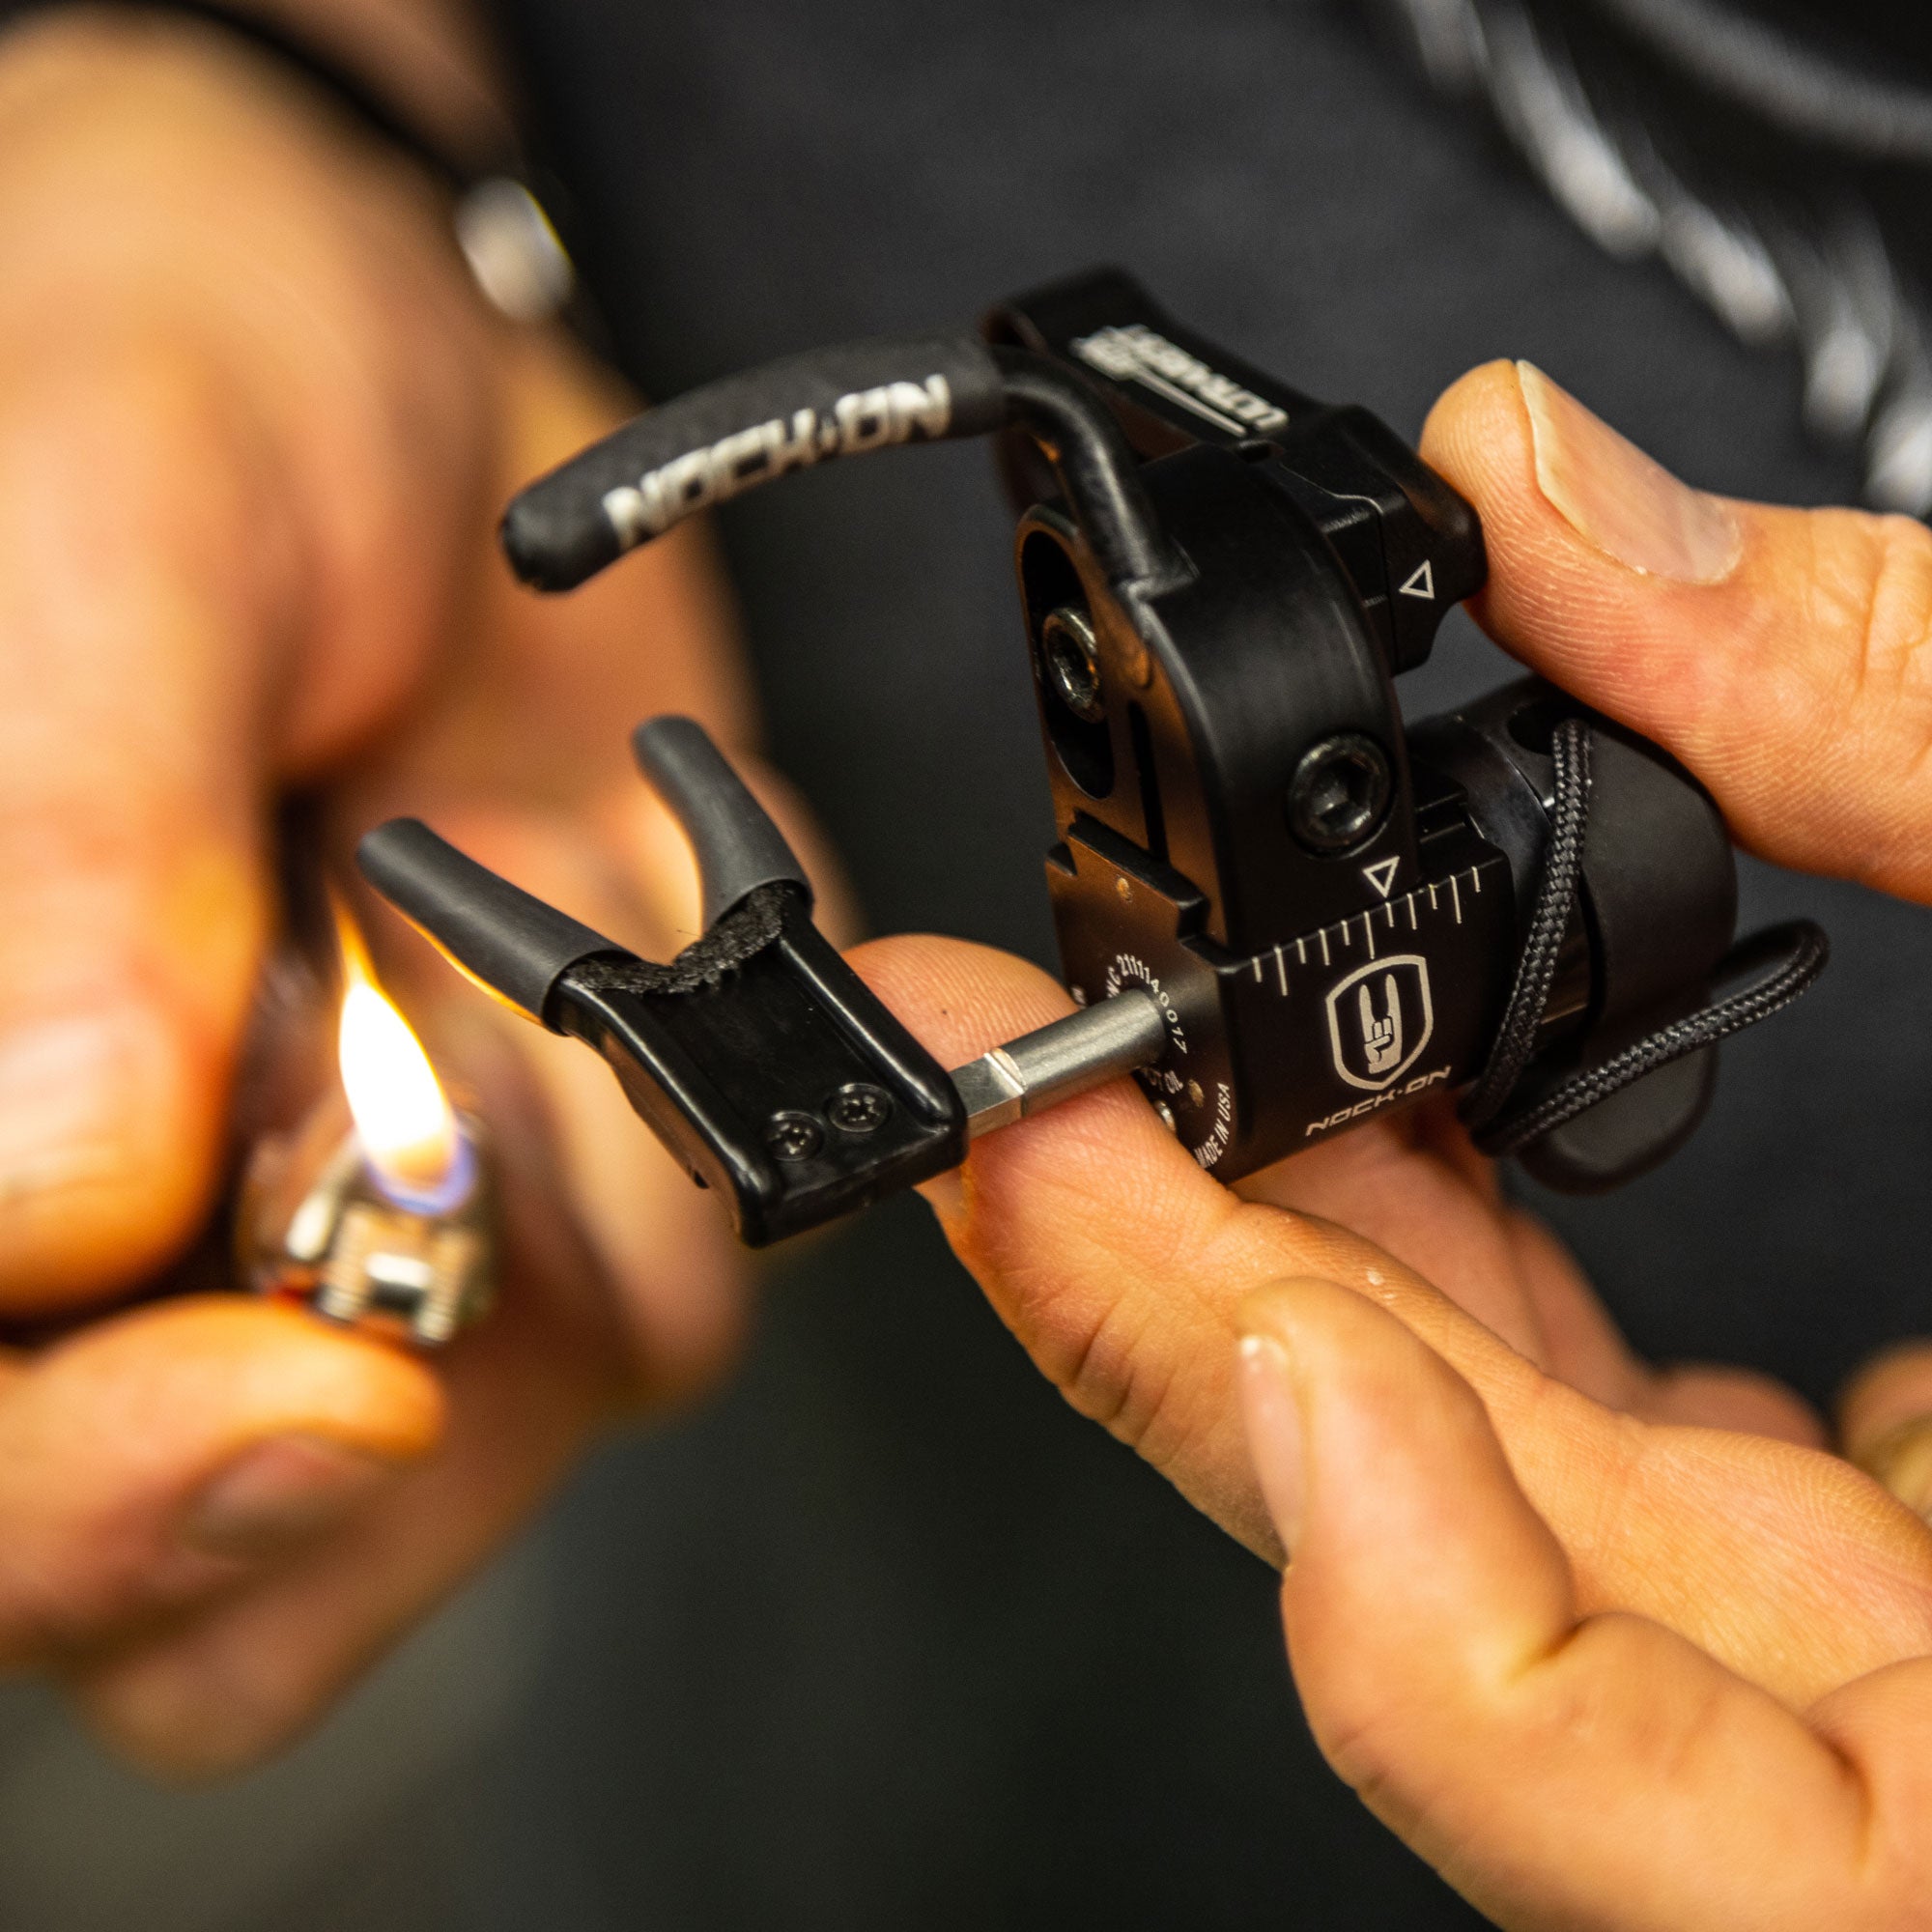
Draw Length Adjustment
A single adjustment tab at the bottom of the cord sets your draw length. Squeeze the tab, feed cord in or out, and position the loop so it sits at the back corner of your lips when you’re at full extension with proper T-formation technique.
The sliding knot system lets you fine-tune placement so the cord pulls straight back from the grip. If the knot shifts during adjustment, slide it back into alignment for a perfectly straight draw path.
Torque Detection
The string tracks down the center of the grip when your hand position is neutral. If you’re torquing left or right, you can look down the back of the release trainer and see the string pulling off-center.
This visual feedback is the same indicator John Dudley uses with long-rod stabilizers on a bow. It tells you immediately if your grip is introducing torque into the system, so you can correct it before it becomes a habit.
Aiming Practice
The burnt knot at the top of the handle works as an imaginary aiming pin. Point it at a target across the room while you pull through your shot, practicing the process of aiming smoothly as you execute rather than fixating on the pin.
Release Trainer Technical Specifications
- Draw Length Range: 21 to 33 inches
- Adjustment System: Single tab cord adjustment with sliding knot
- Grip Design: Shaped to train proper bow hand position with string behind the pivot point
- Release Compatibility: Works with thumb, tension, hinge, and wrist release aids
- Portability: Compact enough to carry and use anywhere
Release Trainer Performance
The release trainer is built for one purpose: getting quality reps without needing a bow, a range, or even a lot of time. Use it at your desk between calls, warm up with it before an event, or take it on the road to get familiar with a new release. The reps add up, and the habits you build carry to the range and the field.
Frequently Asked Questions About the Release Trainer
Does the release trainer work with hinge and tension releases?
It works with every type of release aid. For open-jaw releases like the Silverback Plus or Back Strap, hold your thumb on the hook to keep it seated until you’ve got a bit of tension on the cord. After that, it stays in place and you can focus on execution.
For the Silverback Plus and other tension releases, the trainer teaches you to keep your safety engaged any time you’ve got tension on the string, the same habit you need at full draw with your bow.
How do I set the correct draw length?
Stand with proper T-formation: feet under hips, hips under shoulders, arms raised to shoulder height from the side. Bend your release hand in toward your chest and invert it for a handheld position. Squeeze the adjustment tab and feed cord until the loop sits at the back corner of your lips.
If your front shoulder is climbing, your release arm is bent, or you’re leaning back, the cord is too short. Lengthen it until you can hold proper form without compensating.
Can this actually improve my shooting, or do I need to practice on a bow?
John Dudley has said his best year as a professional archer came during a season when he couldn’t practice with his bow as much. He made up for it by using a shot trainer at work between calls. The reps he got with the trainer ingrained the form and habits that transferred directly to competition.
The trainer won’t replace range time, but it fills the gaps. It’s especially useful for learning a new release, building anchor consistency, or working through shot execution issues without the fatigue and pressure of pulling a bow.
Is this better than making a DIY shot trainer?
You can tie a loop on a piece of string and practice your draw. The advantage of the Nock On release trainer is the grip, which teaches proper hand position and catches mistakes in real time. A homemade version won’t give you that feedback.
The grip profile, the torque detection through string tracking, and the ability to practice aiming with the top knot are features you can’t replicate with rope and a dowel.
Will this help with target panic?
The release trainer takes pressure out of the equation. You’re not worried about the bow pulling the string away from you, and you’re not going to have an accident. That lets you focus entirely on the shot process: anchor, aim, pull through, surprise break.
For tension-based releases, the trainer teaches you how much pull you actually need. Your holding weight isn’t much, and the trainer lets you practice finding that position, releasing the safety, and pulling through without the stress of a loaded bow.
What can I practice with the release trainer besides my release?
Grip pressure and hand position. If you’re torquing your bow and don’t know it, the release trainer shows you. Look down the back of the handle: if the string tracks down the center, your hand is neutral; if it pulls left or right, you’ve got torque.
You can practice anchor consistency, T-formation posture, aiming with the top knot as a reference pin, and getting familiar with a new release in your hand without needing to shoot.